Blog Patrol

Sunday 30 September 2007

Flashback : no3 "Overlord Ancient Ruin Texture - Part 1"

The images below are the property and copyright of both Triumph Studios and Codemasters
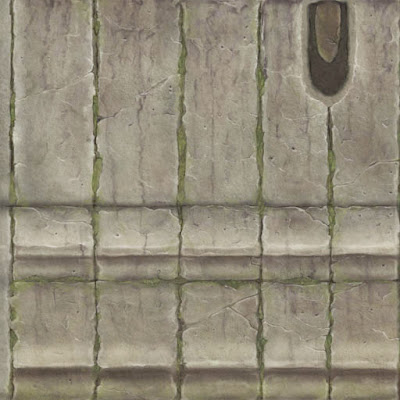

Will be going about this differently to what I did with the flashback on the Gears texture. For this one I will explain the layers I used to build up what finally becomes the following final texture.

Layer 1 - Colour Base
I used Painter for the first time during Overlord. The blend tools are more organic and natural then those of Photoshops which works well for the al
most 'cartoony' textures required for this game and other games such as World of Warcraft etc. This layer is JUST colours. This is the initial design stage of the texture.
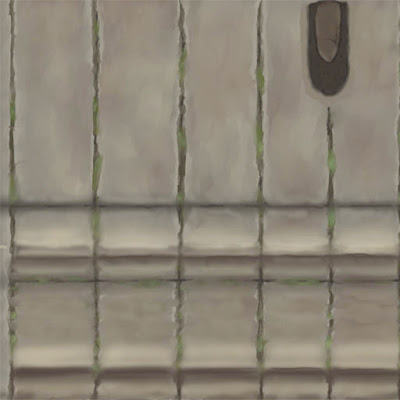
This method is quite different to how I usually texture. In this one we have highlights and shadows in the very first layer. Usually a big 'no no' with photorealistic texturing but here we can get away with it since realism isn't the main priority. This first layer really is the 'skeleton' of the texture, any major mistakes on this layer and the rest will come crumbling down.


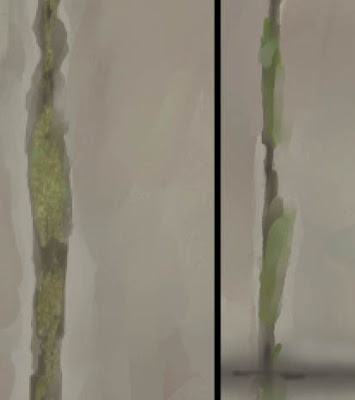
Layer 2 - First photo overlay.


Added moss photo overlays to th
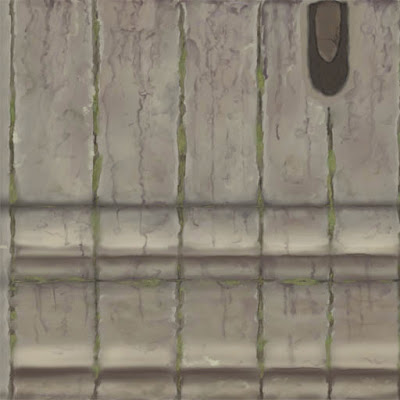
e moss on the colourbase


Layer 3+4 - stains and drips

Just took some simple soft brushes and threw down some details, smudged and erased a bit.

From the image above you might be forgiven for thinking these extra details were fine tuned for hours and done with great care but if you look closer it really is rough! Remember, these details for now at least are just 'designs'. Build them up generally, not drip by drip so to speak. Don't spend ages on one stain only to realize the composition of all the stains at the end look out of place.

1 comment:

Simon said...

Very cool - that's the way i like it :)