1. Throw in skylight, plop.
2. Press '9', turn on light tracer.
3. Select Low poly and press zero key for the render to texture dialogue
4. 'Pick' High poly object
5. Make sure your low and high poly 'fit' each other well. If not then enable projection cage, reset and scrub the 'push' so that you push the cage slightly past the low poly.
6. 'Add' lighting map, setup your filename and location etc
7. Hit render
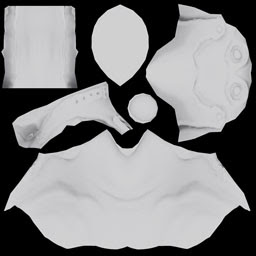
You will get a map similar to the one below. Blend it into your texture psd. (see what blend mode works best for you)
Its vital to do this with all texture passes nowadays, if not your stuff will look dated. Unless you spend ages painting all this detail in, correctly.


3 comments:
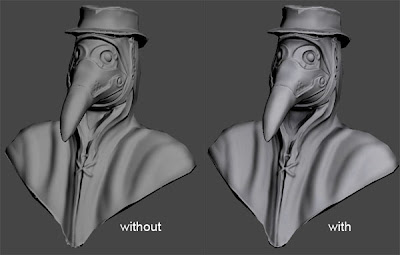
So what exactly does the light map do for the model? In the comparison I do notice the one with the lightmap has a bit more detail and its a brighter.
Also is this the same as ambient occlusion?
The lightmap generally 'brings out the details', it helps to push out shapes (even with normals applied). From what I gather (I still don't quite get it), lightmaps give you general lighting/shading where as ambient occlusion adds dark areas to crevices. I sort of do this pass and edit it in photoshop so I achieve both results in one.
I have a pretty faster and more defined solution for that: use the ambient occlusion shader, implemented since max 8.
Just assign "Mental Ray" as renderer and add a material to your object(s) with a diffuse channel: "Ambient/Reflective Occlusion (base)"
If you render that, you will notice that it's pretty much faster and the corners are darker - more defined than with the sky light solution.
Post a Comment